- Why Good Photography Is So Important to Selling a Home
- Should You Take Real Estate Photography Yourself or Hire a Professional?
- Getting Your Home Ready for Taking Listing Photos
- 10 Tips to Take Great Real Estate Photos
- 1. Invest in a High-Quality Camera
- 2. Learn How to Use Your Camera Prior to the Shoot
- 3. Don’t Forget About the Lens
- 4. Make the Most of the Exposure Triangle
- 5. Use a Tripod
- 6. Enlist Somebody to Help
- 7. Choose the Best Time to Take Photos
- 8. Take a Closer Look at the Spaces You Want to Capture
- 9. Create a Shot List
- 10. Amplify Photos With Strategic Edits
- Sell Your Home With Great Listing Photos
10 Tips for Taking Perfect Real Estate Listing Photos
Click here to browse our Real Estate Agent Directory and contact top-rated agents in your area!
Home listing photos can be the thing that brings interested buyers in or turns them away.
If you’re ready to enter the real estate market and find a great buyer for your property, listen up. Your listing could be one of the most important tools for piquing the interest of motivated buyers. While your listing will be chock-full of important information, buyers will glean the most from your real estate listing photos.
If your listing has gorgeous images highlighting your home, you’ll get more tours, increasing your chance of an offer. However, this is easier said than done. Even extraordinarily talented photographers can need help to capture homes in their best light.
Keep reading for valuable insight into home-selling photography and listing photos. Learn why good pictures matter, how professionals can help, and what should be included on your real estate photography checklist.
Why Good Photography Is So Important to Selling a Home
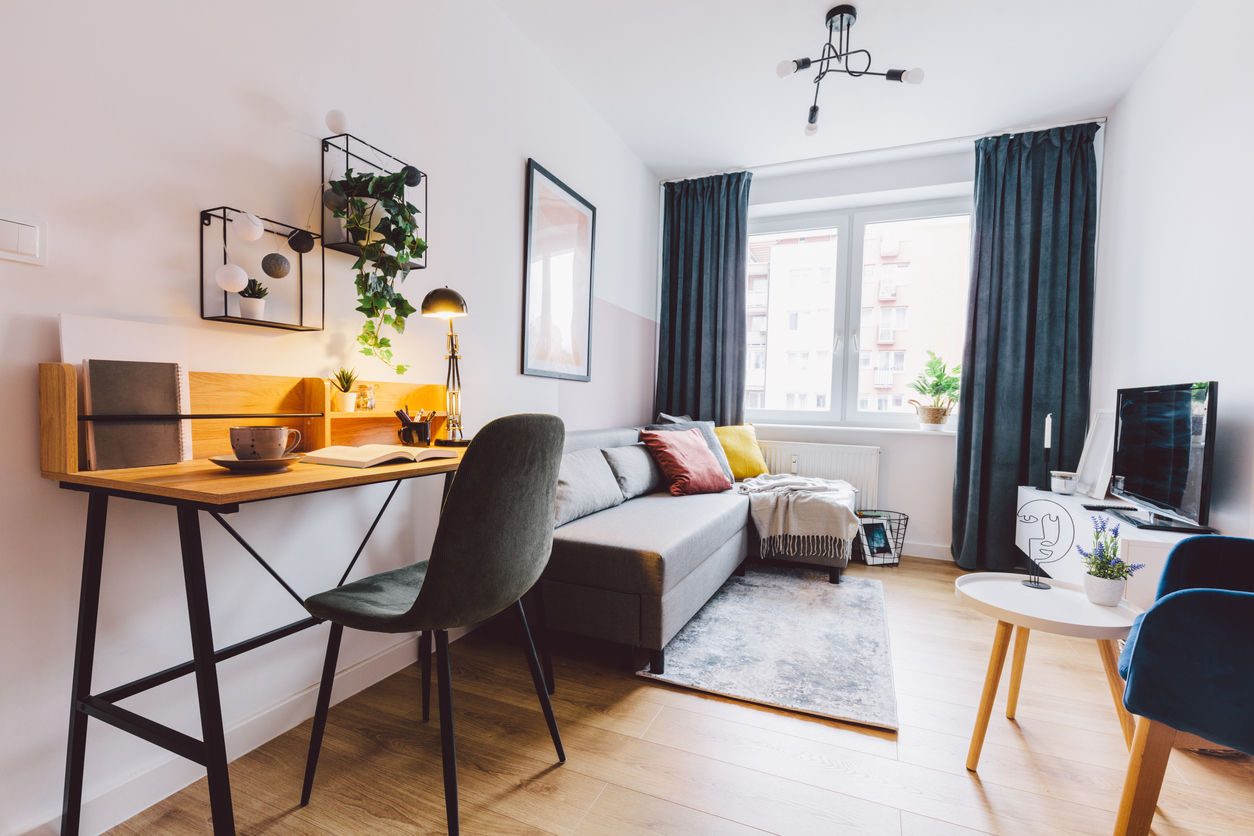
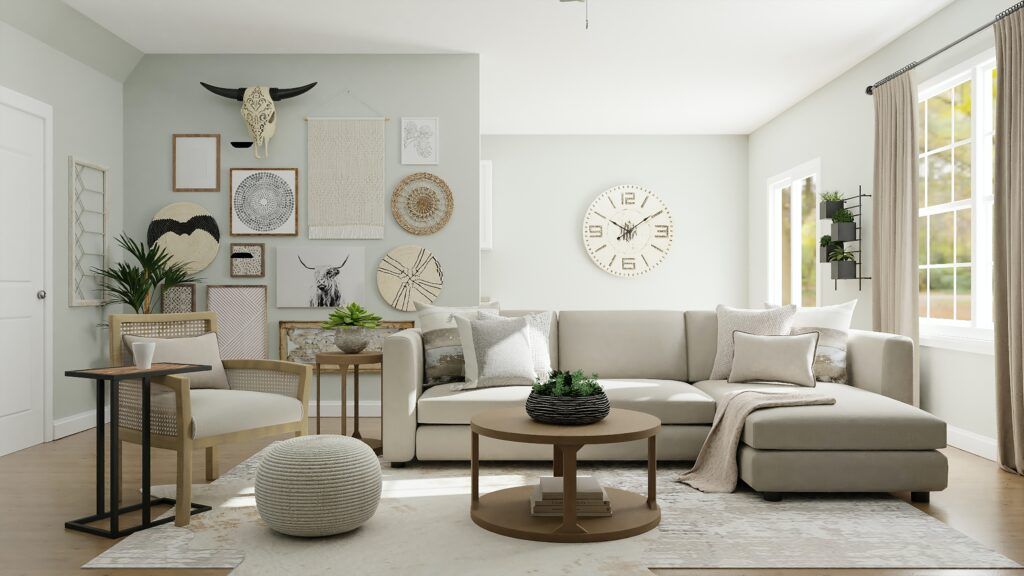
First impressions matter. Quality photography captures what’s best about homes while also giving buyers an exciting opportunity to imagine their future lives.
Not just any photo can capture what makes a particular home so special. The best images aren’t merely the most beautiful; they reveal exactly what sets specific spaces apart and how these features can be played up.
Home-selling photography should make potential buyers feel as if they’re actually in the home. It should also pique their interest enough that they’re eager to learn more.
The ultimate goal of real estate photography should be to get potential buyers in the door to see your place in person. This is best accomplished with compelling images that convince buyers to take action. A wealth of research suggests that more — and better — photos accomplish just that.
First, there’s that initial online impression that nearly every buyer is bound to encounter. Findings from the National Association of Realtors suggest that a whopping 96% of today’s buyers use online tools during some portion of the search process.
While NAR statistics don’t provide further insight into the role of photos in these tools, one glance at any real estate platform or app should reveal that images play a central role in these digital solutions.
The more buyers that visit, the more likely impressive sales prices are to follow. Redfin reveals the extent to which high-quality photography can boost sales. The company’s stats on real estate photography indicate that a mere 15% of sellers make the most of high-end photos, and yet, when these are included, sale prices can increase by anything from $934 to a shocking $116,076.
Should You Take Real Estate Photography Yourself or Hire a Professional?
It takes a real eye for detail — not to mention a lot of careful planning — to pull off a successful real estate photo shoot. The average homeowner simply is not up to the task.
Keep in mind, of course, that a professional photographer comes with a significant cost attached, along with increased scheduling complications. Still, professional photography provides many compelling benefits:
- Dealing with complex lighting. We’ll discuss lighting concerns in detail below, but for now, remember: there’s something to be said for working with an expert who knows how to make the most of any lighting situation. Photographers can adjust settings as needed while also maintaining lighting consistency throughout the entirety of the shoot. They can also handle post-processing concerns to amplify images without making them appear unnatural.
- Access to — and the ability to use — the best cameras and lenses. Photographers invest in exceptional equipment, and, just as importantly, they know how to make the most of it. Yes, a quality camera can make a difference even in the hands of an amateur, but it’s most impactful when handled by a skilled photographer.
- Keeping photos organized. Remember to consider the struggle of planning for and organizing various shots. After you’ve taken a few dozen photos on your own, you may be surprised at how difficult they are to keep straight. However, professional photographers bring much-needed order to an otherwise confusing and even downright stressful process.
Getting Your Home Ready for Taking Listing Photos
Whether you opt to handle photos on your own or get a professional in on the action, you will need to prepare your home before taking pictures for real estate listings.
This means, above all else, giving your home a deep clean and getting rid of any clutter that might distract from its best features. Key preparations to complete before a photo shoot include:
- Sorting through and getting rid of unwanted items that clutter key areas of your home.
- Cleaning all surfaces, such as counters, tables, and shelves.
- Clearing magnets and other visual clutter off appliances.
- Stowing jackets, shoes, and other accessories or clothing items neatly in closets.
- Polishing furniture and appliances.
There’s more to photoshoot prep than cleaning alone. Home staging is also essential. This can be tricky if you currently reside in the soon-to-be-sold property; your furniture may need to be chic enough or of high enough quality to appeal to buyers.
The good news? The concept of “less is more” definitely applies. Buyers can mentally place themselves in a different environment if only so much furniture or decor is competing for their attention.
Removing unsightly furniture may be the easiest approach, although you may need to display a few pieces to make your home look complete. Hence the appeal of professional staging services for real estate pictures.
10 Tips to Take Great Real Estate Photos
Now that you know how to get a house ready for listing photos, it’s time to move forward with the actual shoot. If you’re ready to take photos for real estate listings, be prepared for a steep learning curve. Even top-notch photographers spend years learning how to take professional real estate photos.
Still, with the right equipment and a willingness to experiment, you can get decent photos on your own. To help, we’ve compiled all the best tips for taking real estate photos. Follow these key suggestions to capture the curated aesthetic that separates professional home photos.
1. Invest in a High-Quality Camera
Before you learn how to take pictures for real estate listings, you need the right equipment.
This is not the time to cheap out — the wrong camera will lead to less-than-impressive photos, no matter how many other strategies you implement from this guide.
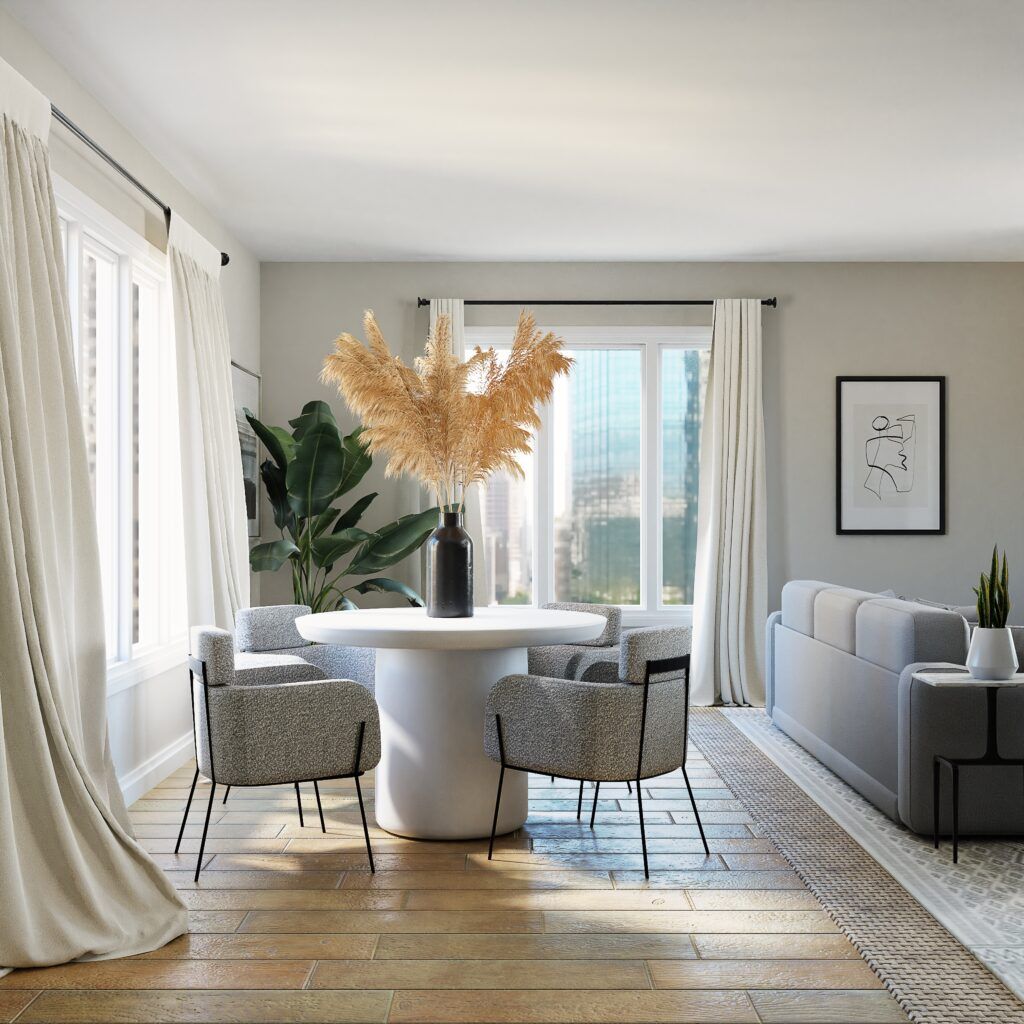
When in doubt, opt for a DSLR (digital single-lens reflex), which combines the convenience of a digital camera with the advantages of a manual setup. Both Nikon and Canon provide reasonably affordable DSLRs for beginners.
Phone cameras have come a long way. But even the most impressive smartphones are not designed to handle the demands of real estate listing photography. If you absolutely must use a smartphone, try to get your hands on a higher-quality camera for the day, such as the Google Pixel 7 Pro or Apple iPhone 14 Pro.
2. Learn How to Use Your Camera Prior to the Shoot
The best cameras will shoot manually, granting you much-needed control over everything from aperture (the size of the lens opening) to shutter speed (how quickly your camera can take photos). In addition, with manual focus, you’ll be better equipped to find and choose among the myriad of focal points that may be present within each shot.
Manual mode can have a steep learning curve. Therefore, it’s important to first experiment with photographing a variety of subjects. This will help you understand what to blur and what should remain in focus for any shot.
Even if you’ve decided to proceed with a smartphone camera, you’ll need to tinker with the settings to ensure you can capture the best images possible.
3. Don’t Forget About the Lens
The right lens can make any room appear more spacious. A wide-angle lens is the gold standard for professional real estate photography, as this visually expands interior spaces. Still, it’s possible to take this concept to excess; too wide, and the image may appear distorted.
Be accurate; while the ultimate goal is to interest buyers, you still want them to get a realistic impression of the property. If buyers arrive and realize that the space looks and feels considerably smaller than what was portrayed in the official listing images, they’ll certainly be turned off.
4. Make the Most of the Exposure Triangle
For an image to achieve perfect exposure, the three elements of the exposure triangle — aperture, shutter speed, and ISO — must be in complete balance.
Technically speaking, your camera is supposed to do the hard work of balancing these elements when it’s in automatic mode — but this isn’t always how photos play out.
However, if you take our recommendation for shooting in manual mode, you’ll need to put even more thought into the exposure triangle. Considerations worth taking into account include:
- Aperture. The wider the lens opening, the more light the camera is able to capture. This, in turn, increases exposure. Depth of field may also come into play; as the aperture is narrowed, a larger area comes into focus.
- Shutter speeds. In general, a longer shutter speed will allow the camera sensor to capture more light. As a result, the final image will be more exposed. While motion often needs to be taken into account when planning for shutter speeds, photography for real estate listings is fine.
- ISO. Sometimes described as the ability of the camera to gather light, ISO is responsible for making an image lighter or darker. Photos become brighter as the ISO increases, but high ISO is sometimes desirable. Unfortunately, a common side effect is additional grain (sometimes referred to as noise).
5. Use a Tripod
Another photography investment worth making? A sturdy tripod that will prevent your camera from moving as you take one shot after another.
More than simply purchasing the tripod is required; you also need to set it at the appropriate height. This usually falls somewhere between chest and waist height, although a few exceptions are worth noting. For example, tripods should be positioned in kitchens and bathrooms so that countertops are visible. Waist height is acceptable in bedrooms, while slightly higher will provide a stronger impression in living areas.
6. Enlist Somebody to Help
While it’s possible to take real estate photos all on your own, it might be worthwhile to enlist the help of an assistant. Of course, the more this person knows about photography, the better.
Someone with minimal experience can still be useful, though, as they can help you make quick adjustments to lighting, furniture placement, and more. An assistant can also take over organizational tasks, so you’re freed up to focus on capturing the best shots possible.
7. Choose the Best Time to Take Photos
The same equipment, location, and photographer can produce dramatically different images depending on the time of day. The typical rule of thumb is to make the most of the bright light during late morning or early afternoon, but exceptions definitely exist.
A lot depends on orientation; east-facing properties are better suited to morning sessions, while afternoon shoots are more effective when properties face west. Your photographer can provide additional insight into the best time of day to take your photo based on your home’s orientation and other relevant factors. However, if you schedule your shoot last minute, you may be restricted, to some extent, by their availability.
This is one of the main silver linings to handling real estate photo shoots on your own; while your personal schedule — and, more importantly, scheduling concerns for other household members — may occasionally get in the way, you’ll almost certainly have the flexibility to take photos at several times of the day. From there, you can compare and contrast to determine which images look the best.
8. Take a Closer Look at the Spaces You Want to Capture
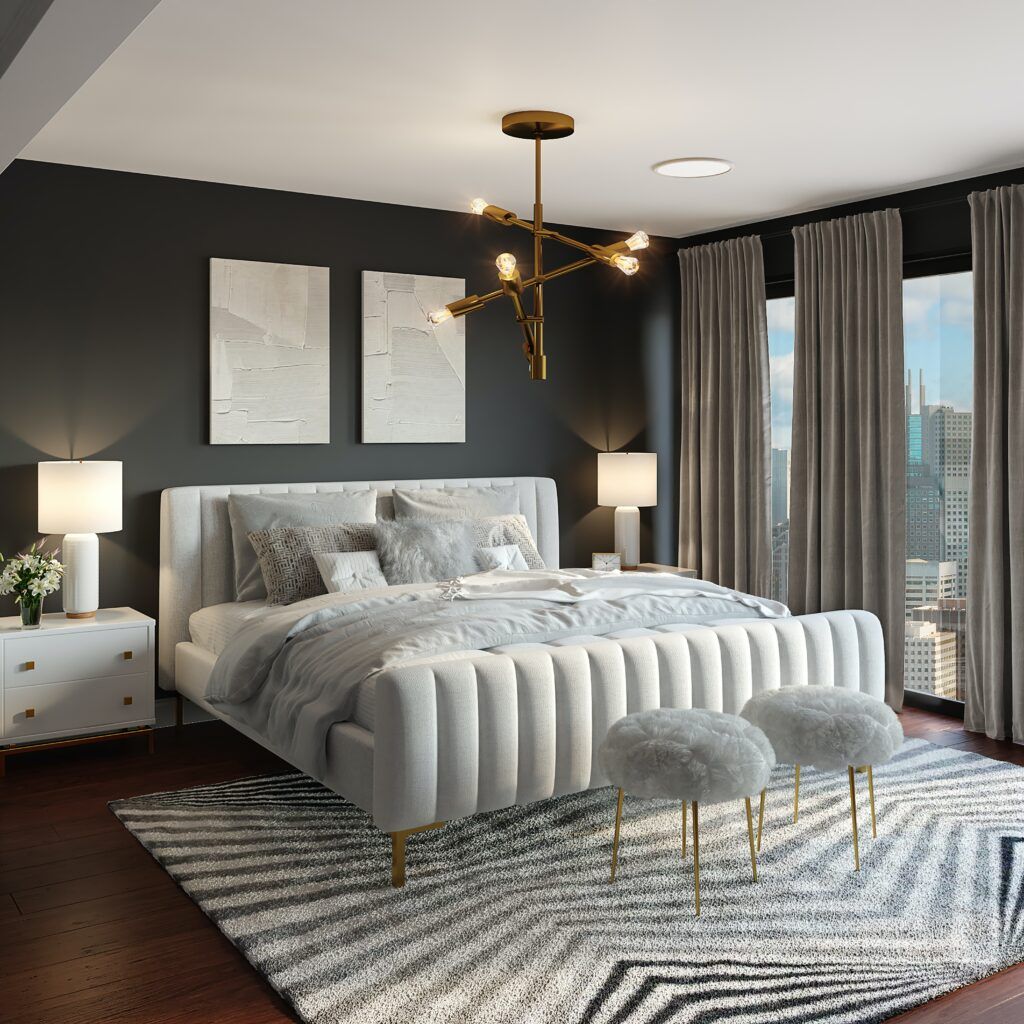
Prior to your big photo shoot, complete a detailed walk-through while taking notes about each area. This process should reveal which rooms call for specific types of shots and the ideal time of day for shooting in various parts of the home.
By taking a closer look at to-be-photographed areas, you’ll also realize if you need to take care of any last-minute cleaning or decluttering tasks. As you browse your home, consider which focal points are most likely to draw the viewer’s eye. Major features will typically dominate, such as fireplaces or impressive artwork.
9. Create a Shot List
When choosing how many photographs to include in your listing, the goal is to provide enough insight to entice buyers without making them feel bored or overwhelmed. Typically, this can be accomplished with 20 to 30 high-quality images, although smaller homes or condos may need fewer.
Of course, you can always take a higher quantity of photos and narrow your options later. Still, a well-thought-out shot list will save you a lot of time and effort, as you can avoid shots that will provide minimal value to your finalized listing.
Most real estate shoots include these essentials:
- A handful of wide-angle shots of important living spaces. Where will buyers and their loved ones spend the most time if they purchase your home? Chances are, they’ll be interested in your kitchen and living room. As the center of the modern home, these typically have the greatest wow factor. So take a variety of wide-angle shots to ensure that the best features in these rooms are on full display.
- A few quality shots of each bedroom and bathroom. While smaller rooms might not make as powerful of an impression, they remain important nonetheless. Master bedrooms, in particular, are important to buyers who want to know that they can find a place of sanctuary within their bustling homes.
- Exterior photos of the home’s front and back. A beautiful exterior is sure to entice buyers, particularly if they are passionate about gardening or landscape design. Show off these features with a variety of photos from the front and back of the property. Provide a basic head-on photo from the front to demonstrate curb appeal, an angled picture, and a close-up that provides compelling details. Exterior shots should convey the size and scope of the backyard, plus any patios, porches, decks, or pools.
- Shots of extra rooms that buyers might find compelling. Smaller homes will typically stick with the shots highlighted above, but larger properties provide additional opportunities to impress buyers. Formal dining rooms and living rooms, for example, may get one or two images each, accompanied by a few select photos of media rooms or three-season porches.
10. Amplify Photos With Strategic Edits
If, after your photo shoot, you discover that many of the images fall far short of your expectations, don’t despair; a lot of damage control can be done during the editing process. This doesn’t mean you should take shortcuts when learning how to take pictures to sell your house, but it can provide relief in the worst-case scenario.
Adobe Lightroom is a wonderful option for editing and organizing your photos. It’s the favored solution for modern photographers, although most still rely on Photoshop to some extent as well.
Next, begin making subtle adjustments that elevate already beautiful real estate photos. Necessary fixes will largely depend on the unique conditions you encounter on the day of the shoot. Examples might include:
- Perspective correction. A common solution when vertical and horizontal lines fail to converge, this technique ensures that problematic lines are aligned with the frame of the image in question.
- Remove color casts. If the tint of a particular photo is undesirable, this can be adjusted by removing unsightly hues. This should restore oddly colored areas or features to their original shades.
- Reduce noise. As discussed earlier, ISO can potentially dramatically increase the noise in any photo. While a lower ISO is the preferred solution, this can easily be toned down in Photoshop.
Throughout this process, the ultimate goal is to make your photos appear as natural as possible. Therefore, avoid excessive edits, as these could quickly make otherwise acceptable photos appear overly saturated.
Sell Your Home With Great Listing Photos
Beautiful listing photos can make a powerful impression on potential buyers. However, if you need further insight into the listing process, don’t hesitate to seek guidance from a trusted real estate agent.
No matter where you’re at in the buying or selling process, FastExpert will help you find passionate professionals who are committed to taking stress out of the equation. Browse top agents in your area to get an expert in your corner today.


